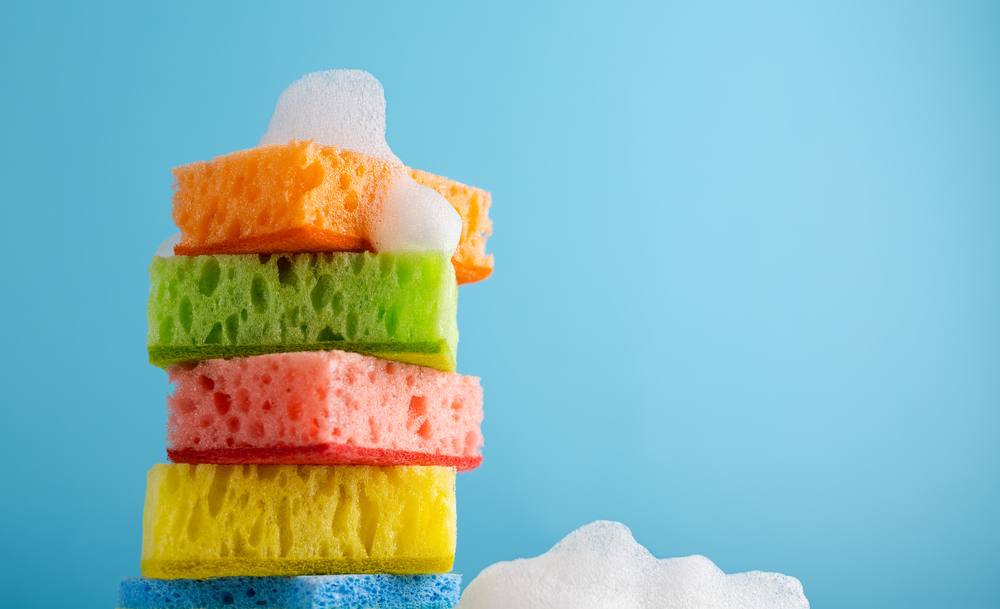
Did you know that kitchen sponges were once made from natural sponges from the sea? Even before, sea sponges were used for the same purposes as they are used now. Sponges have lots of uses, from cleaning kitchen spills, scrubbing off dirty dishes and even applying makeup to your face. Since it has plenty of uses in your daily life, it is important that you learn how to sanitize sponges.
To Replace or to Sanitize
You don’t have to wait for your sponges to fall apart before replacing them. Nothing beats throwing out smelly, old sponges and replacing them with new ones to make sure they are clean, germ-free and safe to use. Experts recommend replacing sponges every 2-3 weeks. Don’t worry too much about the extra cost, because it will still be cheaper than a trip to the hospital.
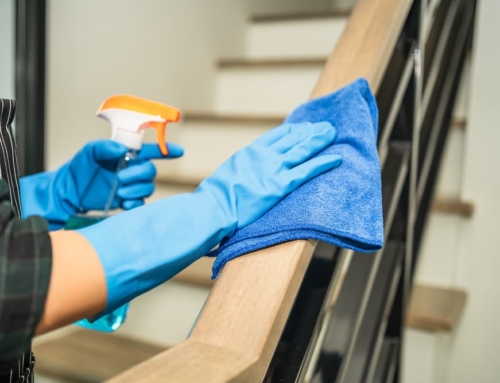
If you are budget savvy and don’t want to let go of your sponges yet, or feel like you’re not getting your money’s worth, check out the tips below on how to sanitize sponges. If you can, sanitize sponges at least once every week to ensure they don’t become breeding grounds for harmful microorganisms.
Microwave
In a published study, researchers found that microwaving sponges can effectively sanitize them. They soaked the sponges in a mix of fecal bacteria and bacterial spores before placing them in the microwave for two minutes at full power. Results revealed that more than 99% of the bacteria and even hard-to-kill bacterial spores were killed. Add another two minutes of microwaving at full power, and it shall kill all bacterial spores. You can sanitize sponges in the microwave every other day, while keeping in mind of the following:
- The sponges should be wet before putting them in the microwave. You can place them in a microwave-safe bowl before popping them in the oven. Never microwave a dry sponge as it may cause it to burn.
- Don’t microwave sponges with steel or metal in it.
- Two minutes is enough to kill pathogenic or harmful germs in your sponges.
- Sponges from the microwave are hot so be careful in handling them. Let it rest for a while before taking them out of the microwave.
Vinegar
Add this to the one thousand and one ways to use vinegar. It’s a safe, natural and affordable way to sanitize sponges.
Soak your sponges in vinegar for five minutes. Make sure to use full-strength vinegar, the ones containing 6% acetic acid. Regular vinegar is more diluted. The higher the acetic acid percentage, the better it is for cleaning and sanitizing. Remove excess vinegar and rinse the sponges in warm water before letting them dry.
Boiling Water
Clean and sanitize sponges by boiling them in a pot of water. Let the sponges sit in the boiling pot of water for five minutes. Wait for it to completely cool down before removing the sponge from the pan and getting rid of the excess water.
Dishwasher
This is the easiest way to sanitize sponges. Put the sponge in the top rack of your dishwasher and run a heat-dry cycle. Make sure to set it at the longest time and at the hottest cycle to ensure that all harmful germs are killed.
Bleach
Mix ¾ cup of bleach in a gallon of water and soak your sponges here for five minutes to sanitize them. Completely rinse in warm water and that’s it. You can also use 10% chlorine bleach to do the job. Bleach is a good option to sanitize sponges because it can kill not only harmful bacteria but mold, mildew and viruses as well.
The Need for Clean Sponges
Health and cleanliness go hand in hand. If you want to be healthy, start with a clean mind, body, and a clean home. Sponges play a vital role in keeping our homes clean. You use them to clean plates, pots, glasses, and even kitchen surfaces. How can you make something clean with something dirty, right? The last thing you want are icky, dirty and germ-loaded sponges.
Whether you like it or not, sponges are breeding grounds for a number of harmful germs and microorganisms. If you don’t replace or sanitize your sponges regularly, you might be spreading harmful germs, disease-causing bacteria, mold and mildew, etc., to other surfaces in your home. This is called cross-contamination, which may lead to foodborne diseases, food spoilage or even food poisoning.
How to Prevent Cross-Contamination with Sponges
It’s hard to gamble on your health and take a risk on using old sponges. Consider the following dos and don’ts when using and replacing sponges to prevent cross-contamination.
Use separate sponges for different tasks
Sponges used for bathroom sinks should not be used to clean your toilet bowls. The same thing applies to kitchen sponges. Have several sponges in the kitchen, one for cleaning the dishes, one for cleaning the kitchen surface, one for cleaning the kitchen counter for meat juices, etc. You wouldn’t want to use your makeup sponges to clean any other thing, would you?
Don’t waste your time cleaning and sanitizing shabby and smelly sponges
Do yourself a favor, save your energy and buy a new one. It would be safer for you and for the whole household.
Throw out and replace smelly sponges
The foul smell coming out from your sponges is a sign that they are already harboring germs and other harmful bacteria. Stop the spread of disease-causing microorganisms by replacing smelly sponges with a new one.
Always clean your sponges after use and let them dry
Keeping them dry when not in use minimizes the risk of bacteria, mold and mildew growing on them.
Don’t stack them up or keep your used sponges in one container
Organize your sponges. If you stack them, it might lead to cross-contamination and put all your cleaning and sanitizing efforts in vain.
Choose Clean My Space for Your Disinfecting Needs
Your sponge should be as clean as the rest of your home. We can do the heavy lifting for you with our cleaning services. Do not worry about the price because we will make sure to give you a plan that is within your budget. No hidden fees or extra costs, only exceptional cleaning services.